Canals
Layouts
| T-Section West Dead End | T-Section East Dead End |
|---|---|
-7f5e861dfb5f75f3f98963b4d8d1d3da.png) | -8517c5e27324f250667944247aded4cc.png) |
2nd T-Section West for Skip -1b967afcb6d1dfc9f29267f28e0a6261.png) | Skip North on the first open Section -db42c5f0c2e69cfdd3730a2cb43b20ad.png) |
Zone Read
Simple Read
Follow Zone. Move North if able to
Canals has 2 Variants. Distinguishable by the first T-Section after the first Bridge. Check West Tunnel first.
- If West Tunnel is a Dead End, it is the East Variant.
Follow the Tunnel East. You are either forced in a Ziz Zag until you reach the next Bridge or get a 2nd T-Section. -
- If you have another T-Section and have Blink Arrow / Lightning Warp move West to find a Skip across a broken Bridge.
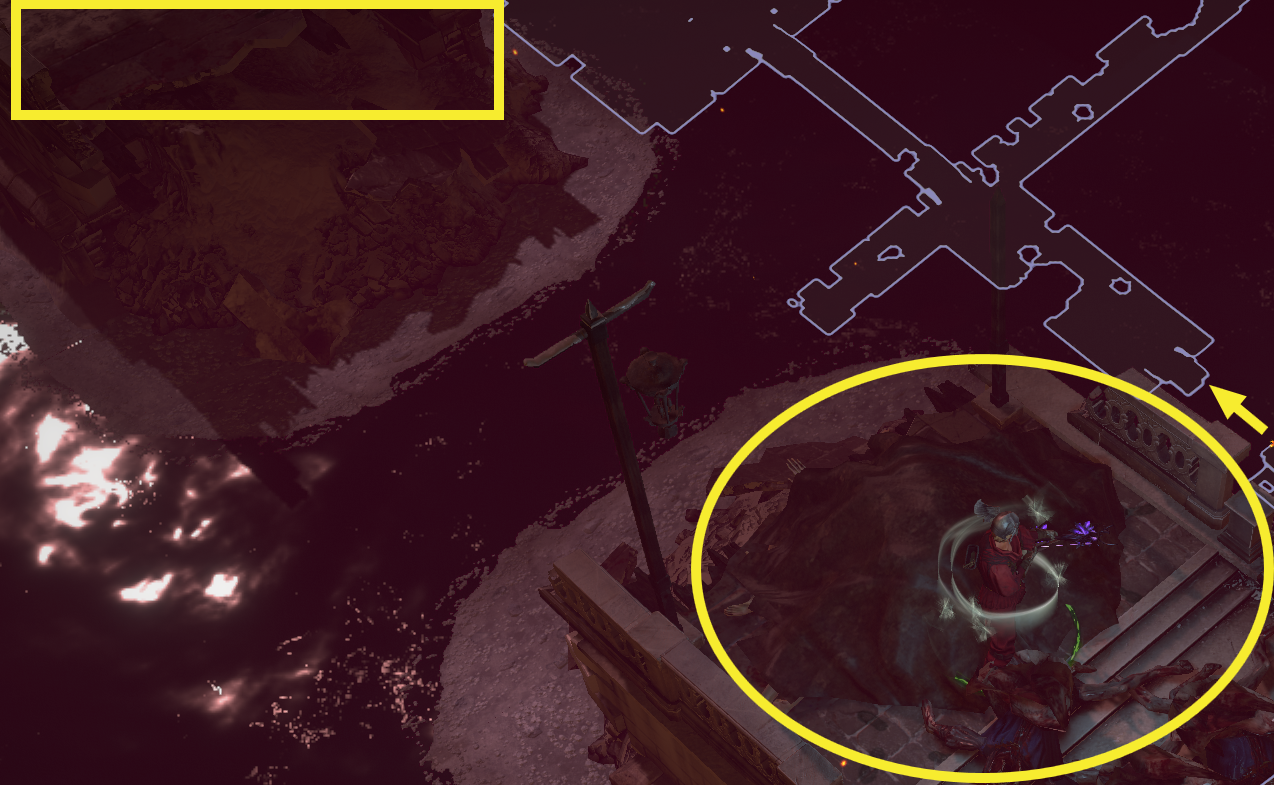
Continue to follow the Passage, on the Open Zone / Crosssection stick to the West Edge. afterwards follow the next Passage till you find a 2nd open Zone. The Correct Exit to the 2nd Open Zone is North. After its West into the final Passage to find the Exit to Feeding Through.
- IF the West Tunnel continues, we got the West Variant. Follow the Passage.
-
- If you reach a open Area, there is a Skip available North with Blink Arrow / Lightning Warp. then head North to reach the Open Area.
-
- Otherwsie you reach a T-Section choose South here, and continue to follow the Passage till you reach the Open Area.
Go Straight Across the open Area and after North-East to find the final Passage leading to the Entrance to Feeding Through.